Digitize the physical world with Evernote's camera [Capture: Part 5]
March 30 2026 | Issue 89 | Link to this issue | Subscribe
Hi Reader –
As we've been discussing in this capture series, the key to getting real value from Evernote's AI tools — to help make sense of all your thoughts, notes, research, and inspiration — is first capturing all of that information to your account.
But often, we forget to capture the physical things we want to save inside Evernote: receipts, business cards, documents, whiteboards full of meeting notes, the paint swatch you love at the hardware store, the wine label you want to remember from dinner.
Evernote's mobile camera is the bridge between that physical world and your Evernote second brain. One tap, and it's captured, searchable, and available to Evernote's AI tools.
Most users know Evernote has a built-in camera. What they don't know is how its different modes work. (Or that the camera just got a major overhaul!)
Understanding the nuances of Evernote's camera and actually using Evernote's camera instead of the built-in camera on your phone reduces the friction of capturing from the physical world and sets you up for real AI success in Evernote.
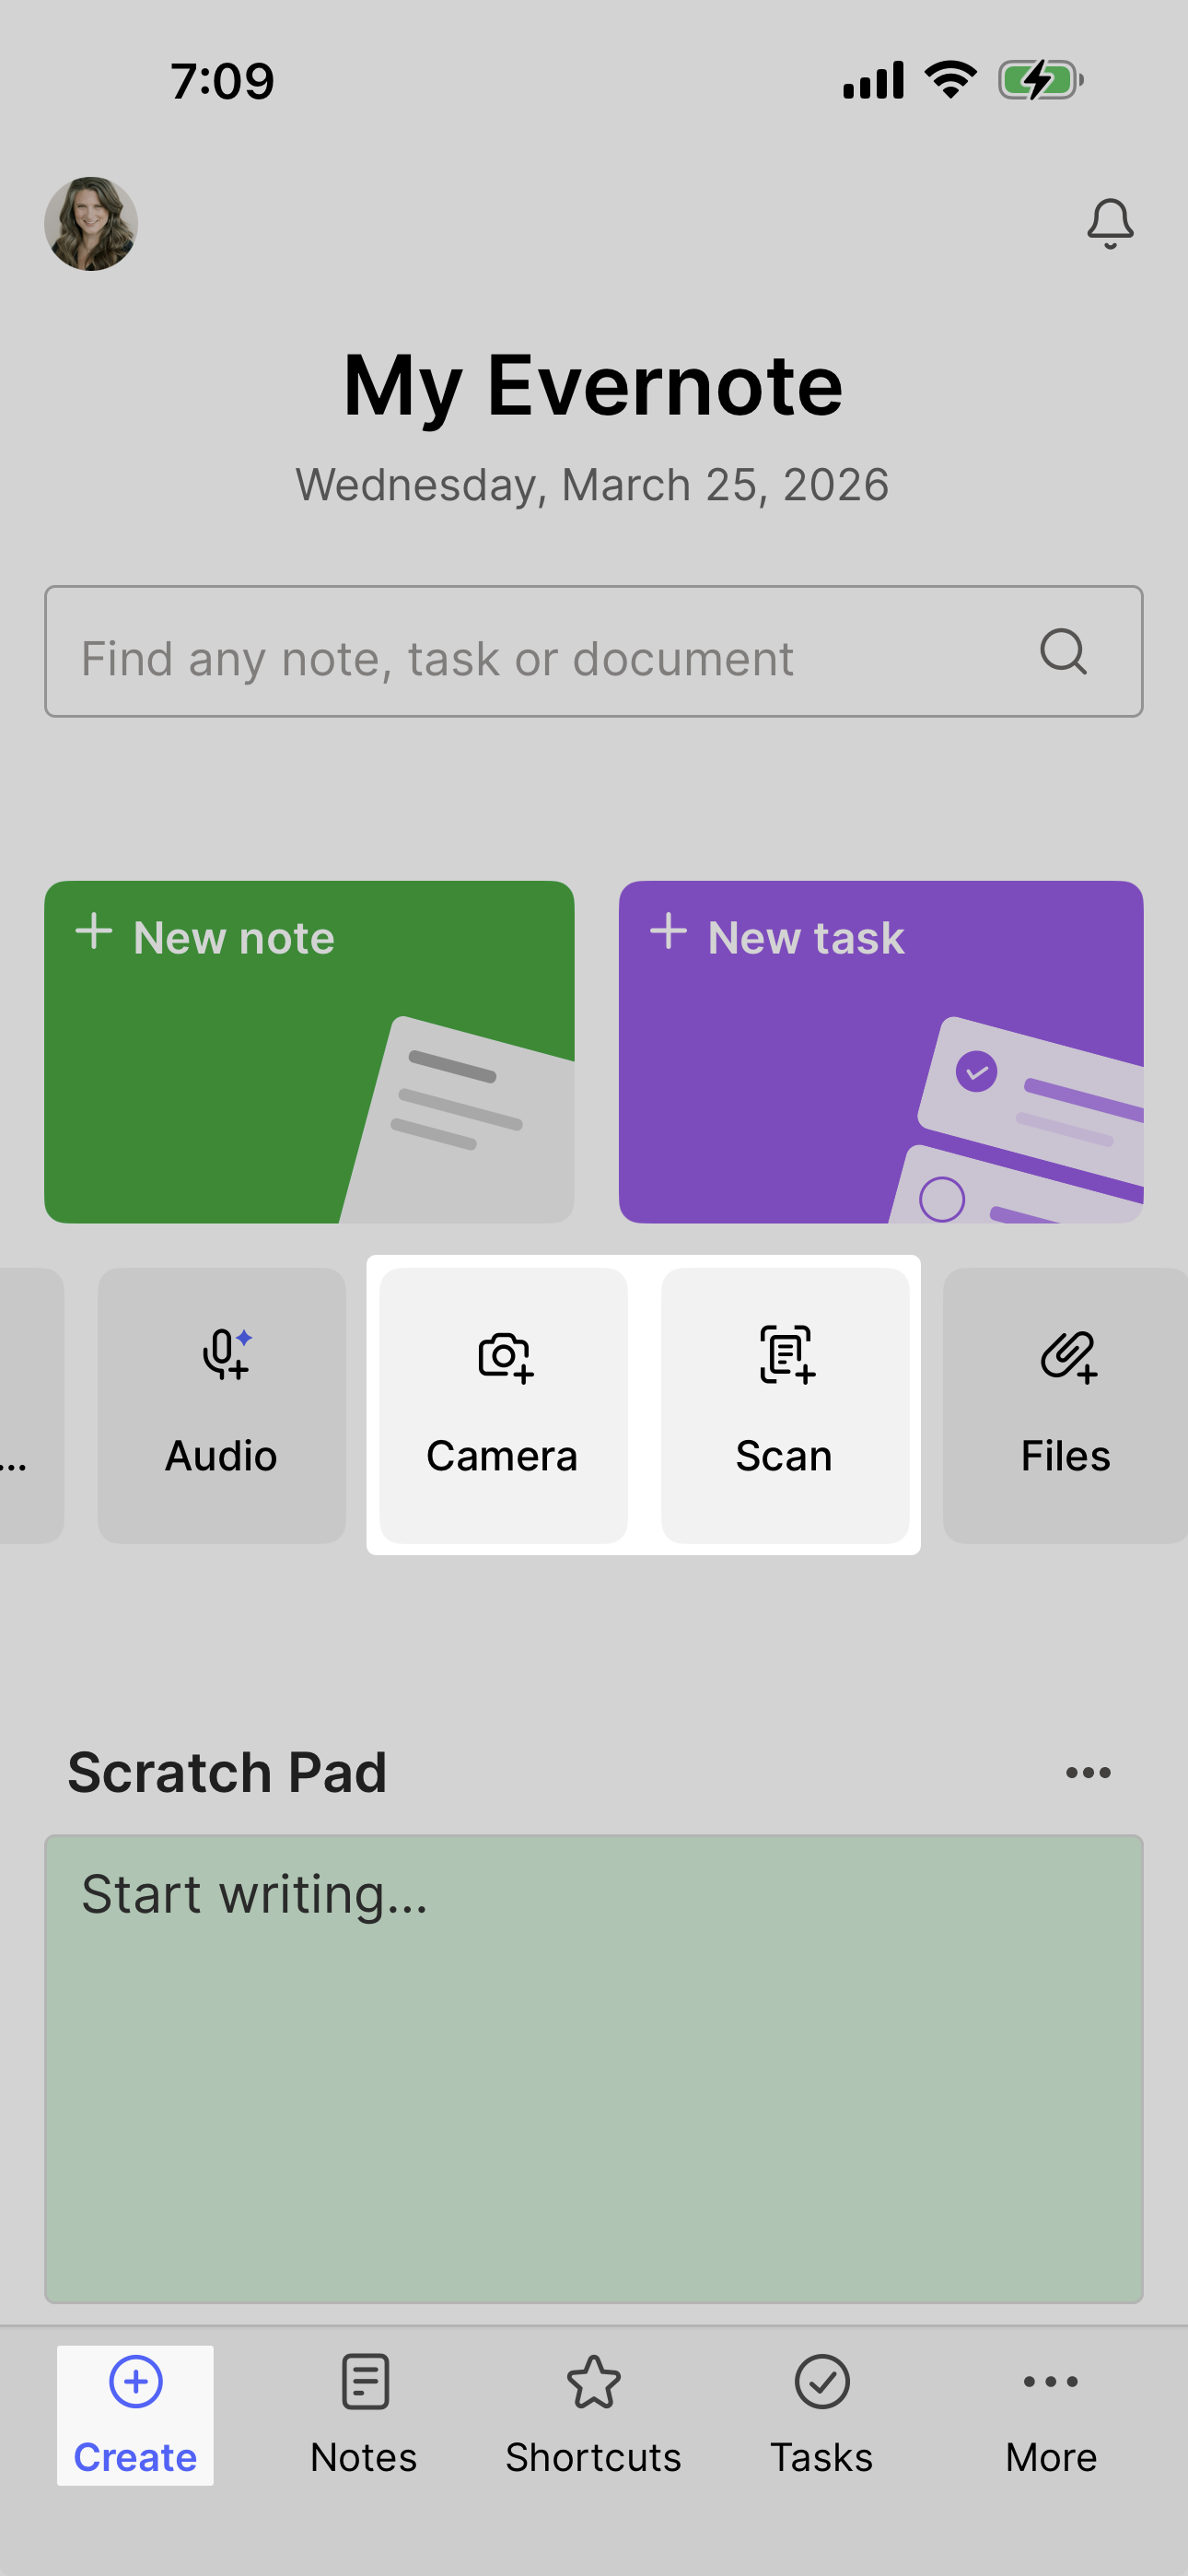
Swipe left to access the Camera and Scan options.
Two Ways to Capture: Camera vs. Scan
Evernote's mobile camera has two modes, and understanding the difference will help you capture paper more effectively:
Camera Mode (Manual): Takes a standard photo of whatever you're pointing at. Great for quick captures when you don't need the document cropped or enhanced.
Scan Mode (Auto): Automatically detects document edges, crops the image, and enhances the text for better readability. Perfect for receipts, forms, business cards, and anything else you want to look clean and professional.
Both modes save your capture as a JPEG that gets OCR indexed, which means all the text becomes searchable — and available for AI Transcription, AI Assistant and Semantic Search.
The 2026 Camera Upgrade
In February, Evernote quietly released a major camera overhaul. This was the first significant code rewrite of the camera function since Bending Spoons acquired Evernote three years ago, and it brings some meaningful improvements:
"Auto" is now "Scan" — The vocabulary change makes the function more intuitive.
Rebuilt scan performance — The code for the scan feature has been modernized for faster, more reliable results. My Academy members are loving the noticeably improved performance and image quality.
New color options — Scan mode now offers black and white, grayscale, and color, giving you more control over how documents are captured.
Smarter auto-sensing — The camera can now automatically detect and hyperlink URLs from scanned documents (like receipts with website addresses).
And Scannable users will be excited by another camera improvement that Evernote has announced and will roll out very soon: Save an image as a PDF is coming to the Evernote camera!
🧠 Academy Members: Get the complete breakdown of the camera and scan updates in this demo and feature tour.
Why the Evernote Camera Matters for Your Workflow
Here’s a great example: Most people take a photo of a whiteboard after a meeting and consider it captured. But a photo sitting in your camera roll isn't searchable by Evernote, and its AI tools can't retrieve any of the information from it.
When that same whiteboard scan lives in Evernote, everything changes. Evernote OCR indexes the scan, which unlocks the ability for AI Assistant and Semantic Search to surface key details from the image. Or, you can ask Evernote's AI to transcribe what's in the whiteboard image, and the handwriting becomes instantly editable, actionable text.
When everything is centralized in Evernote, you can:
Reference receipts, documents, and notes from anywhere (even your phone)
Search across all your scanned content instantly
Transcribe text and handwriting that's in your photos and scans
Use AI Assistant to analyze and extract insights from scanned documents
Eliminate the mental load of tracking where you put important papers
I scan receipts at restaurants before I even leave the table. No accumulation, no tracking, no lost receipts. It's captured, searchable, and accessible forever.
Make It Even Easier with Mobile Widgets
Want to reduce friction even further?
Add Evernote's camera or scan function to your phone's home screen using mobile widgets. This gives you one-tap access to capture without opening the full app.
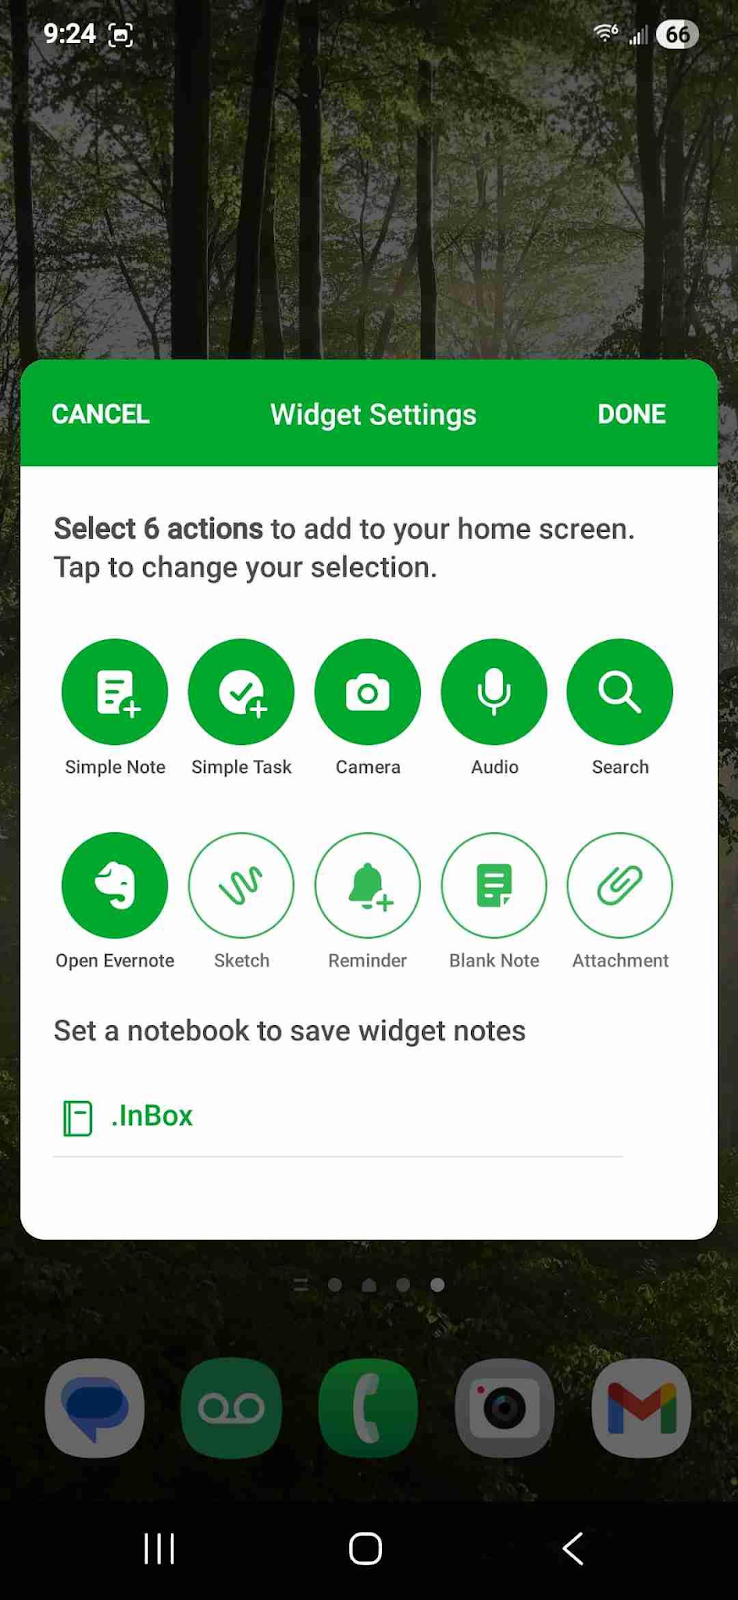
Both iOS and Android support camera widgets. (Though Android offers a few more customization options.)
🧠 Academy Members: Learn how to set up mobile widgets for faster capture in the Feature Training: Mobile Widgets.
Start Scanning Today
If you've been accumulating paper because it feels overwhelming to deal with, try this approach for one week:
Every time you receive a piece of paper — receipt, flyer, business card, whatever — scan it into Evernote immediately using the Evernote camera on your phone. Don't wait. Don't save it for later. Just capture it and move on.
At the end of the week, notice how much clearer your physical space feels. And how much easier it is to find what you need when everything is searchable in one place.
Your phone is already in your pocket. Put it to work.
Cheers to your productivity —
Stacey

Subscribe to auto-receive my next tip!
No fluff. Just practical, immediately actionable advice from someone who's been teaching Evernote mastery for over a decade. Sent every Monday, for free.